
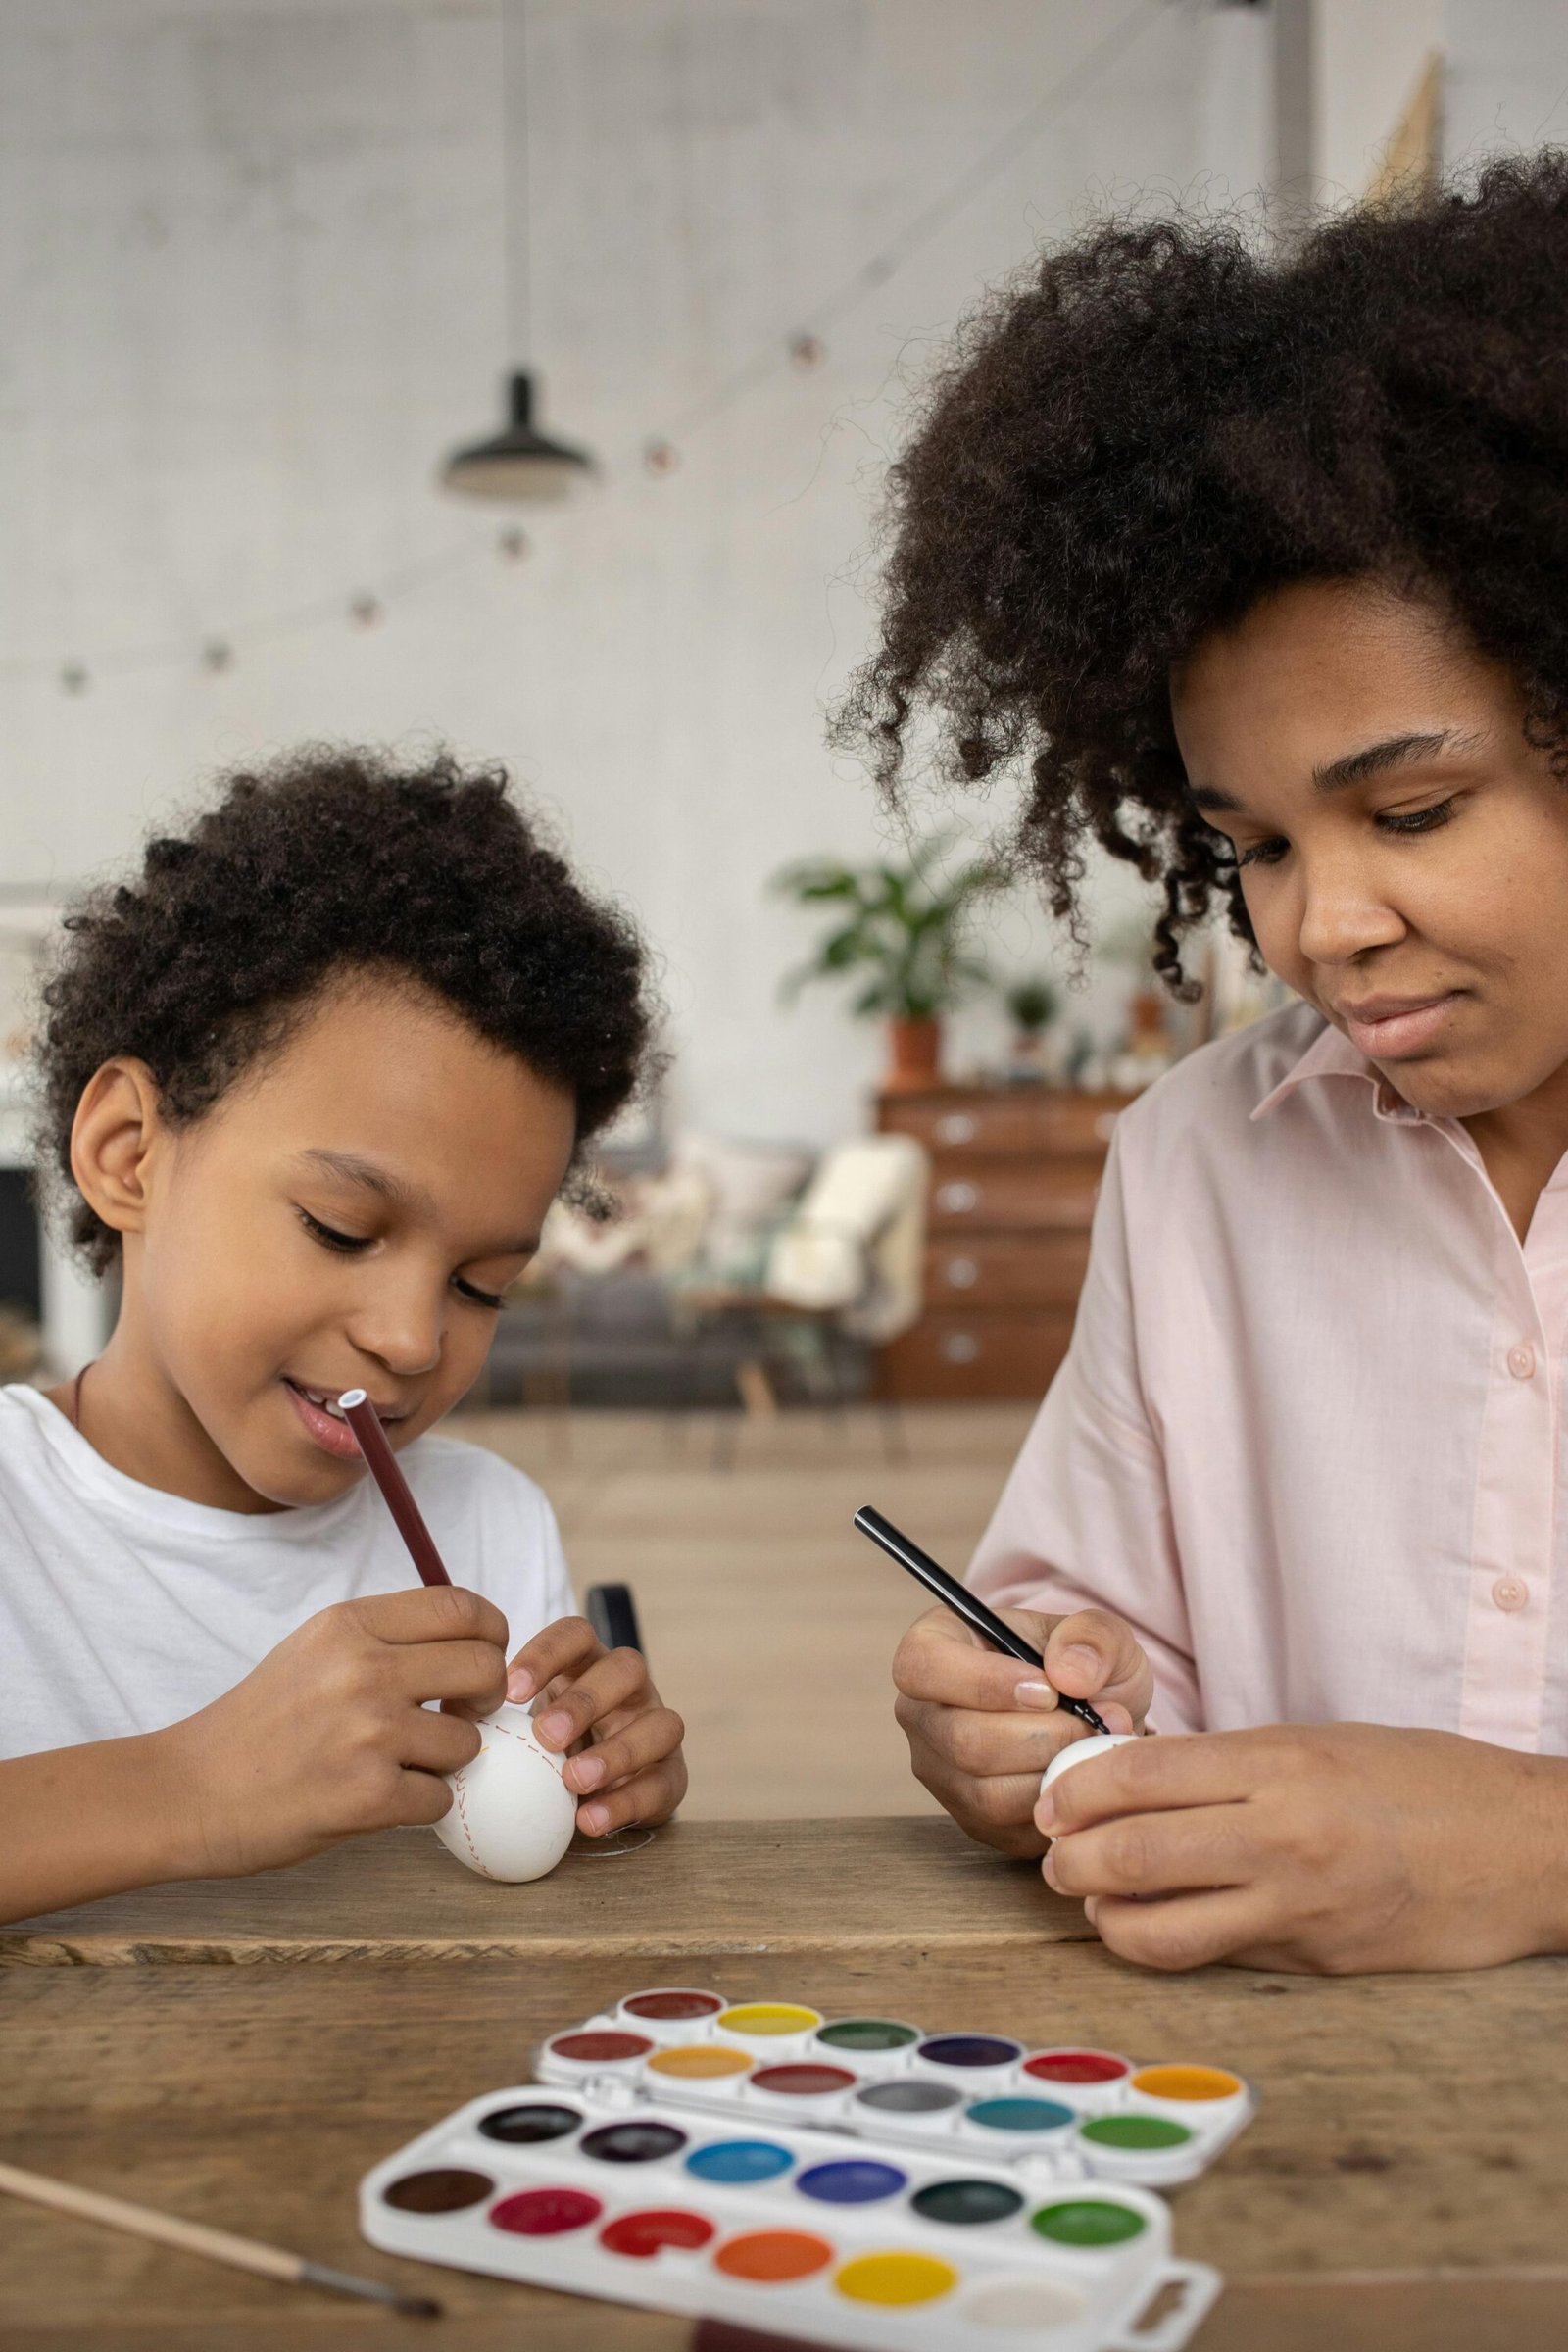
With Easter just around the corner, this guide provides five easy and affordable craft ideas perfect for homeschooling families. Go beyond simple entertainment with projects designed to develop fine motor skills, encourage creativity, and make learning a festive, hands-on experience for children of all ages
With the Easter holidays approaching, it is a great time to plan some engaging homeschool Easter activities. Crafting is more than just a way to keep children entertained; it is a powerful educational tool that helps develop fine motor skills, encourages focus, and allows for creative expression. According to research highlighted by Michigan State University Extension, art helps children with everything from decision-making to visual learning.
These five easy Easter crafts are affordable and use materials you likely already have at home or can easily find at local stores like PNA or Checkers. They are perfect for a range of ages and offer plenty of opportunities to inspire adult creativity, too1.
1. Easter Egg Marbling
The art of marbling creates stunning, unique patterns on eggs, making it a perfect stay-at-home Easter activity.
[Insert Image: A collection of beautifully marbled Easter eggs with swirling colours. – Source: Pexels – Alt Text: Finished marbled eggs, an example of easy Easter crafts for kids.]
File Name: easter-egg-marbling-craft.jpg
What You’ll Need:
- Eggs (insides removed and shells washed)
- Paper or card
- A deep bowl or tray
- A cocktail stick
- Marbling inks or nail polish (newer ones work best)
- Kitchen roll
How to Do It:
- If you want to cover the egg’s original colour, start by brushing the shells with acrylic paint.
- Fill a deep bowl with water and add a few drops of nail varnish or ink into the centre. This step should be done by an adult.
- Use a cocktail stick to swirl the ink and create a pattern. Parents should handle this step or supervise older children.
- Dip the egg into the water with the cocktail stick and pull it out.
- It dries almost immediately, allowing you to double-dip for a layered effect.
The Learning Twist: This craft is a fantastic, hands-on science experiment. Discuss concepts like density (why the ink floats) and liquid properties. The swirling patterns introduce elements of fluid dynamics in a simple, visual way.
2. Bunny and Chick Sweetie Jars
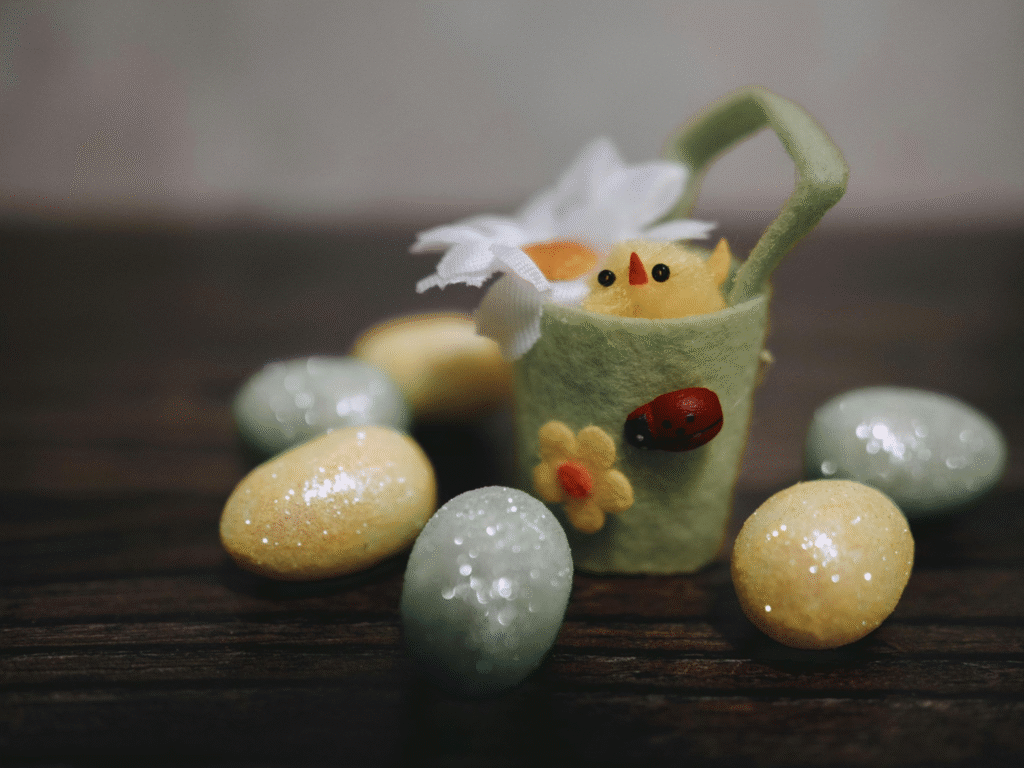
Create these adorable, chocolate-filled jars as gifts for friends or hide them for an Easter treat hunt.
What You’ll Need:
- Glass jar with a screw lid
- Craft paint suitable for glass
- Sharpie pens
- Patterned card
- Glue
- Pom-poms (for the chick)
- Chocolate eggs and coins
How to Do It:
- Paint the lids and jars, but leave an unpainted circle at the front. Let it dry completely before adding a second coat.
- Once dry, use Sharpies to draw faces on your bunny or chick.
- Cut out bunny ears or chick party hats from the card. Glue pom-poms onto the party hats.
- Bend a 1cm flap at the base of each ear or hat and glue it to the jar lid.
- Fill the jars with chocolates to finish.
The Learning Twist: This activity is great for developing planning and 3D construction skills. It also opens up a conversation about giving, community, and the joy of creating something for others.
3. Carrot Collage
This fun and easy carrot collage is a perfect snack for the Easter Bunny. It’s an excellent
toddler Easter craft idea.
What You’ll Need:
- Orange and white construction paper or cardstock
- Green crayons
- Scissors
- Child-safe glue
How to Do It:
- Ask your child to tear the orange paper into pieces. Older children can cut pieces with safety scissors.
- Cut the white paper into a large wedge shape and apply glue to one side.
- Let your child place the orange paper pieces all over the glued carrot shape.
- Once dry, cut the remaining white paper into smaller triangles for the stem and attach it to the carrot.
- Have your child colour the stem green with crayons.
The Learning Twist: Tearing paper is a fantastic activity for building hand strength and fine motor skills. The different textures of the paper and glue also make this a great sensory experience for young learners.
4. Toilet Roll Bunnies
This craft is cheap, simple, and fun—a perfect combination for a quick afternoon activity.
What You’ll Need:
- A cardboard toilet roll centre
- Scissors
- Glue
- Paint and paintbrushes
How to Do It:
- Cut the toilet roll into three equal pieces.
- Keep one piece as a circle (the face) and squash the other two to form bunny ear shapes.
- Glue the two “ears” to the top of the circle piece.
- Once dry, dip the bunny shape into paint and use it for printing bunny faces.
The Learning Twist: This is a brilliant lesson in recycling and repurposing common household items. It also introduces basic geometry by transforming a cylinder into different shapes to create a recognisable figure.
5. Tissue Paper Easter Egg
These “suncatcher” eggs are perfect for displaying in a window, letting the sun illuminate the bright colours.
[Insert Image: A tissue paper Easter egg hanging in a window with sunlight shining through the colours. – Source: Pexels – Alt Text: A colourful tissue paper Easter egg, a great idea for DIY Easter decorations.]
File Name: tissue-paper-easter-egg-suncatcher.jpg
What You’ll Need:
- Black or white construction paper
- Coloured tissue paper
- Glue stick
- Safety scissors
How to Do It:
- Fold a sheet of construction paper in half and draw half an oval on it.
- Draw another line about 2.5cm inside the first one, following the same shape.
- Cut along both lines and unfold the paper to create an egg-shaped border.
- Help your child tear or cut strips of tissue paper.
- Glue the tissue paper strips to the egg border, overlapping them so no gaps are visible.
The Learning Twist: This craft is a perfect introduction to colour theory. Children can experiment with overlapping different coloured tissues to see what new colours they can create. It is a visual and practical lesson in colour mixing.
Call to Action
What are your family’s favourite Easter traditions or crafts? Share your ideas in the comments below—we would love to see what you create!
If you enjoyed these activities, please share this post with other homeschooling families.
Subscribe to our weekly newsletter for more fun and educational ideas for your South African homeschool.